Configure the milestones
Table of contents
How to interact with milestones
It’s possible to add a milestone by clicking on the graph at the date you want to add it. This will open the window shown on the left below.
To edit a milestone, simply click on it. This will open the window shown on the right below. It’s also from this window that it is possible to delete the milestone by clicking on the red button.
How to configure a milestone
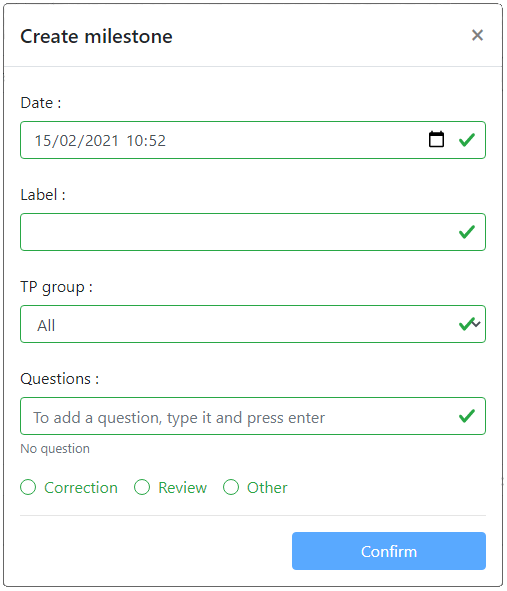
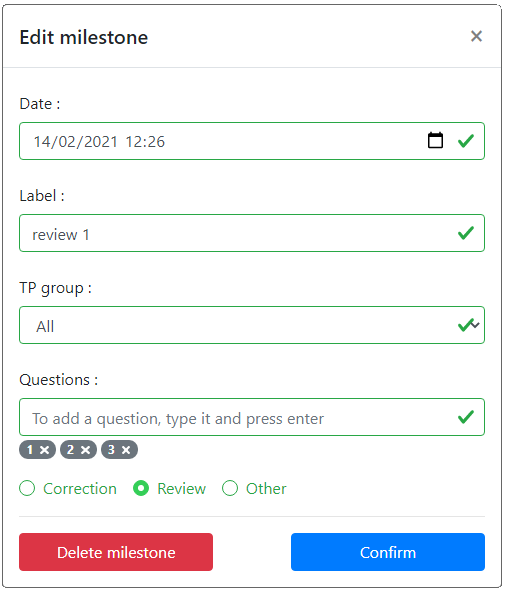
Adding a milestone to the left and editing one to the right
-
The only mandatory field to save a milestone is its type (radio buttons at the bottom).
-
By default, the work group associated with a milestone is
All. This means that the milestone impacts the repository commits of all groups. -
The order of the questions is important to be able to tell what is the last question a student answered in the students commits graph.
-
The label is not required. If none is provided, a label is generated when it’s displayed in the graph.
No changes are saved without clicking on the blue “Confirm” button.